If you've poked around AI image generation for more than five minutes, you've bumped into the name ComfyUI. So what actually is it? ComfyUI is a free, open-source, node-based interface for running AI image and video models like Stable Diffusion, Flux, and SDXL, and it hands you visual control over every single step of how an image gets made. Most tools bury the technical stuff behind one lonely text box. ComfyUI does the opposite. It lays the whole pipeline out as a flowchart of connected boxes so you can see, and mess with, exactly what's happening under the hood.
This guide walks through what ComfyUI is, how the node thing works, why developers and creative folks swear by it, and how pre-built templates can save you from the brutal learning curve. Doesn't matter if you're a designer poking at AI tools, a video editor curious about automation, or a developer who wants to control every knob. This one's for you.
Table of Contents
- What Is ComfyUI?
- How Does ComfyUI Work? Understanding Node-Based Workflows
- ComfyUI vs. Other AI Image Tools
- Why Templates Simplify the Learning Curve
- Getting Started: A ComfyUI Beginner Guide
- Common Use Cases for ComfyUI
- Best Practices for Building Reliable Workflows
- Frequently Asked Questions
What Is ComfyUI?
ComfyUI is an open-source graphical interface that lets you build AI image and video pipelines by wiring together visual "nodes" instead of writing code or fiddling with one fixed panel of settings. It showed up as a more transparent, more flexible answer to the earlier Stable Diffusion interfaces, and it's since become one of the most-used tools in the whole generative AI scene. The reason is simple: nothing else gives you this much control over what the diffusion process is actually doing.
Every step of generating an image gets treated as its own little movable box on a canvas. Loading a model, encoding your text prompt, sampling noise, running a VAE decoder, upscaling, saving the file. Each node has inputs and outputs, and you draw lines between them. If you've ever seen a modular synth, or a node graph in Blender or Nuke, it'll feel familiar. The whole point is that you can watch what happens between "I typed a prompt" and "here's my image," and rearrange, swap, or clone any piece of it.
And because it's open-source and runs locally (you can also throw it on a cloud GPU), a huge community has grown up around it. People build custom nodes, extensions, entire workflows, and share them. Honestly, that ecosystem is a big chunk of why ComfyUI has left some of the older tools in the dust on flexibility. The catch? It's a steeper climb at the start than the point-and-click apps.
How Does ComfyUI Work? Understanding Node-Based Workflows
A node-based workflow in ComfyUI is a visual diagram of connected blocks, where each block does one job and hands its result to the next block down the line. That's the fundamental difference from typing a prompt and smashing "generate." You get to see and tweak every step in between.
The Basic Building Blocks
A typical workflow leans on a handful of node types. Loader nodes pull in your checkpoint (the trained model), any LoRA files (small fine-tuning add-ons), and the VAE, which is the bit that translates between latent space and actual pixels. Conditioning nodes take your prompt and turn it into something the model can chew on, usually splitting positive and negative prompts down separate paths. Sampler nodes run the real diffusion work and control your steps, CFG scale, and which algorithm you're using (Euler, DPM++, the whole zoo). Then latent and VAE decode nodes turn all that math back into a visible image, and output nodes save, preview, or keep processing it.
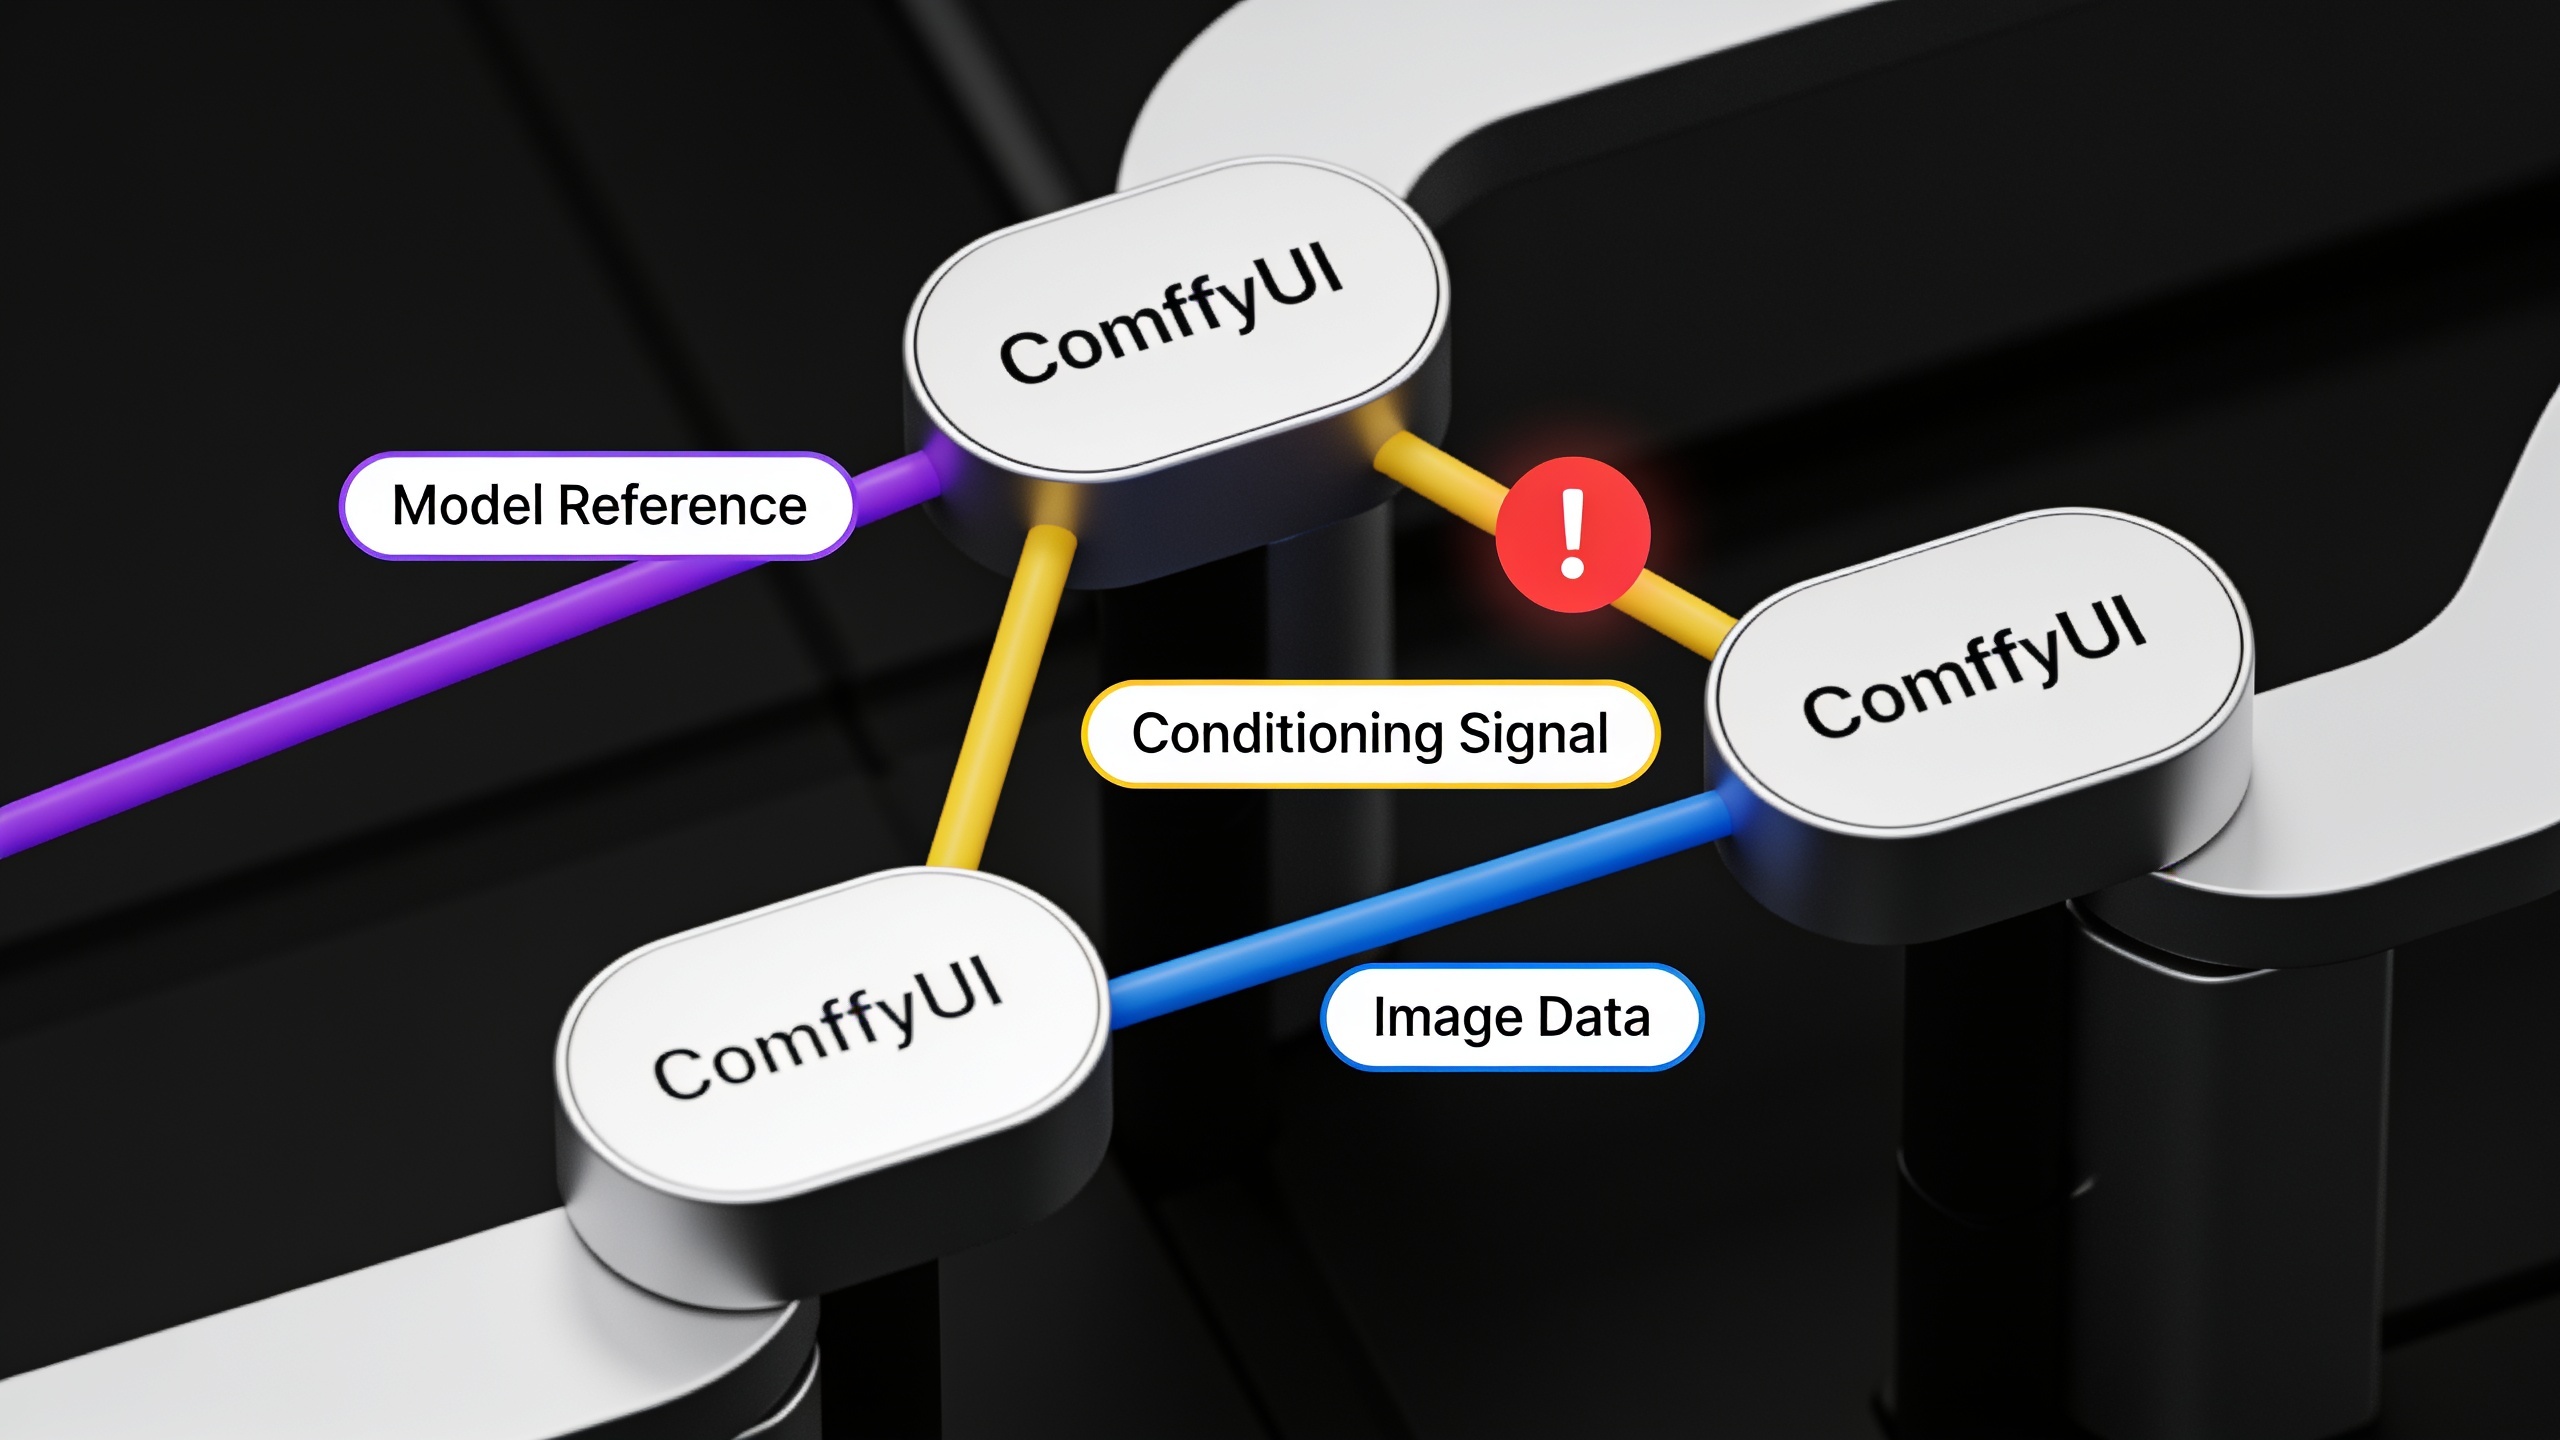
Everything's connected by colored lines that represent data types. A purple line might carry a model reference, a yellow one a conditioning signal. Try to plug two incompatible things together and ComfyUI usually throws an error at you, which, weirdly, is one of the better ways to learn what's supposed to connect to what.
Why This Matters for Control and Repeatability
Because every step is right there in front of you, you can jam a new node in wherever you want. Need an upscaler between the sampler and the save step? Drop it in. Want to run two different LoRAs on the same base checkpoint and compare them side by side? Just duplicate the sampling branch. This is exactly why ComfyUI clicks with people who need repeatable, auditable pipelines. Think a studio cranking out hundreds of product shots with identical lighting and style, or a developer testing how five different samplers change the output.
This "show me the process instead of hiding it in a black box" idea isn't unique to AI, by the way. Specialized platforms like Medinex do something similar for disability support services, making participant care, compliance, and payroll processes visible and manageable instead of opaque. ComfyUI just does it for image generation, exposing each computational step so you can actually adjust it.
ComfyUI vs. Other AI Image Tools
ComfyUI stands apart from tools like Automatic1111's WebUI, Midjourney, or DALL-E mainly because of that node architecture. It trades a little bit of day-one simplicity for a lot more flexibility and reproducibility. Every tool here is built for a different kind of person, and seeing them side by side makes it obvious why the technically-minded crowd gravitates toward ComfyUI.
| Feature | ComfyUI | Automatic1111 WebUI | Midjourney |
|---|---|---|---|
| Interface style | Node-based visual graph | Tabbed form-based UI | Chat/Discord or web prompt box |
| Customization depth | Very high (custom nodes, full pipeline control) | Moderate (extensions, scripts) | Low (limited parameters) |
| Learning curve | Steep initially, eased by templates | Moderate | Very low |
| Local hosting | Yes (open-source) | Yes (open-source) | No (cloud-only, subscription) |
| Batch/automation friendly | Excellent, workflows can be saved as JSON | Good | Limited |
| Video and inpainting support | Extensive via custom nodes | Add-on dependent | Limited |
| Cost | Free (hardware/GPU costs apply) | Free (hardware/GPU costs apply) | Paid subscription tiers |
So the deal is basically complexity in exchange for control. Midjourney is fantastic if you just want to explore ideas fast, but it won't let you peek inside or rewire anything. ComfyUI is closer to a visual programming environment, which is precisely the thing that makes developers and studios love it when they need results that are reproducible, customizable, and scriptable.
Why Templates Simplify the Learning Curve
Pre-built templates cut your time-to-productive in ComfyUI way down, because they hand you a working, tested node setup you can load, poke at, and modify instead of staring at a blank canvas wondering where to even begin. A template is really just a saved JSON file holding every node, connection, and setting in a workflow. Open it and the whole pipeline reassembles itself in your workspace.
For an actual beginner, this is a lifesaver. Building from scratch means knowing which nodes exist, how they hook up, what each parameter does, and which combos actually produce something decent. That's a mountain of knowledge to haul up before you've made a single image. Templates just... skip past all that friction. You get a finished, functional starting point.
That's exactly the hole ComfyUI Templates is trying to fill. The site's got more than 30 free, ready-made JSON workflow templates for stuff like text-to-image, inpainting, upscaling, style transfer, and video editing. So instead of googling "which node handles inpainting," you download a template, drag it into ComfyUI, and immediately see a complete working pipeline you can study and tweak. If you learn by example (most people do), this beats reading documentation every time, because you can trace exactly how a working setup was put together.
What a Good Template Should Include
Not every template is worth learning from, though. A good one usually has clear labels or groupings so you can tell "prompt input" from "sampling" from "upscale" at a glance. It'll ship with sane defaults for steps, CFG scale, and resolution so your first run doesn't just crash. Ideally it has a few notes explaining the weird settings, and it flows in a logical direction, left to right or top to bottom, so your eye can follow it.
When a template hits those marks, it works almost like a solved example in a textbook. You reverse-engineer the logic just by following the wires.
Getting Started: A ComfyUI Beginner Guide
Getting going with ComfyUI comes down to installing it, loading a base model, and running your first template before you even think about building something custom. Here's a path that dodges the classic rookie mistakes.
Step 1: Install ComfyUI
You can install ComfyUI locally on Windows, macOS, or Linux as long as you've got a decent GPU. NVIDIA cards with at least 6 to 8GB of VRAM are the usual recommendation if you want SDXL-class models to run smoothly. There are also portable no-install versions and cloud-hosted options if your machine isn't up to it.
Step 2: Download a Base Checkpoint
You'll need at least one checkpoint, which is the file holding the trained weights the AI actually generates from. Solid starting points are Stable Diffusion 1.5, SDXL, and newer stuff like Flux. These files run anywhere from 2GB to 7GB and go in a specific "models" folder inside your install.
Step 3: Load a Template Instead of Starting Blank
Don't build nodes by hand your first time. Grab a pre-built template (one of the free JSON workflows from ComfyUI Templates works great) and drag it in. Now you've got a complete, functioning pipeline on attempt number one, which beats an empty canvas by a mile in the "not wanting to give up" department.
Step 4: Run and Observe
Hit "Queue Prompt" (that's ComfyUI's "generate") and watch the workflow run node by node. Notice which nodes light up as they process. That visual feedback is quietly teaching you the actual order of operations, whether you realize it or not.
Step 5: Modify One Thing at a Time
Once the base template makes sense, change exactly one thing. The prompt, the sampler, the resolution, the CFG scale, whatever. Then re-run it. Watching cause and effect one variable at a time is genuinely the fastest way to figure out what each node really does.
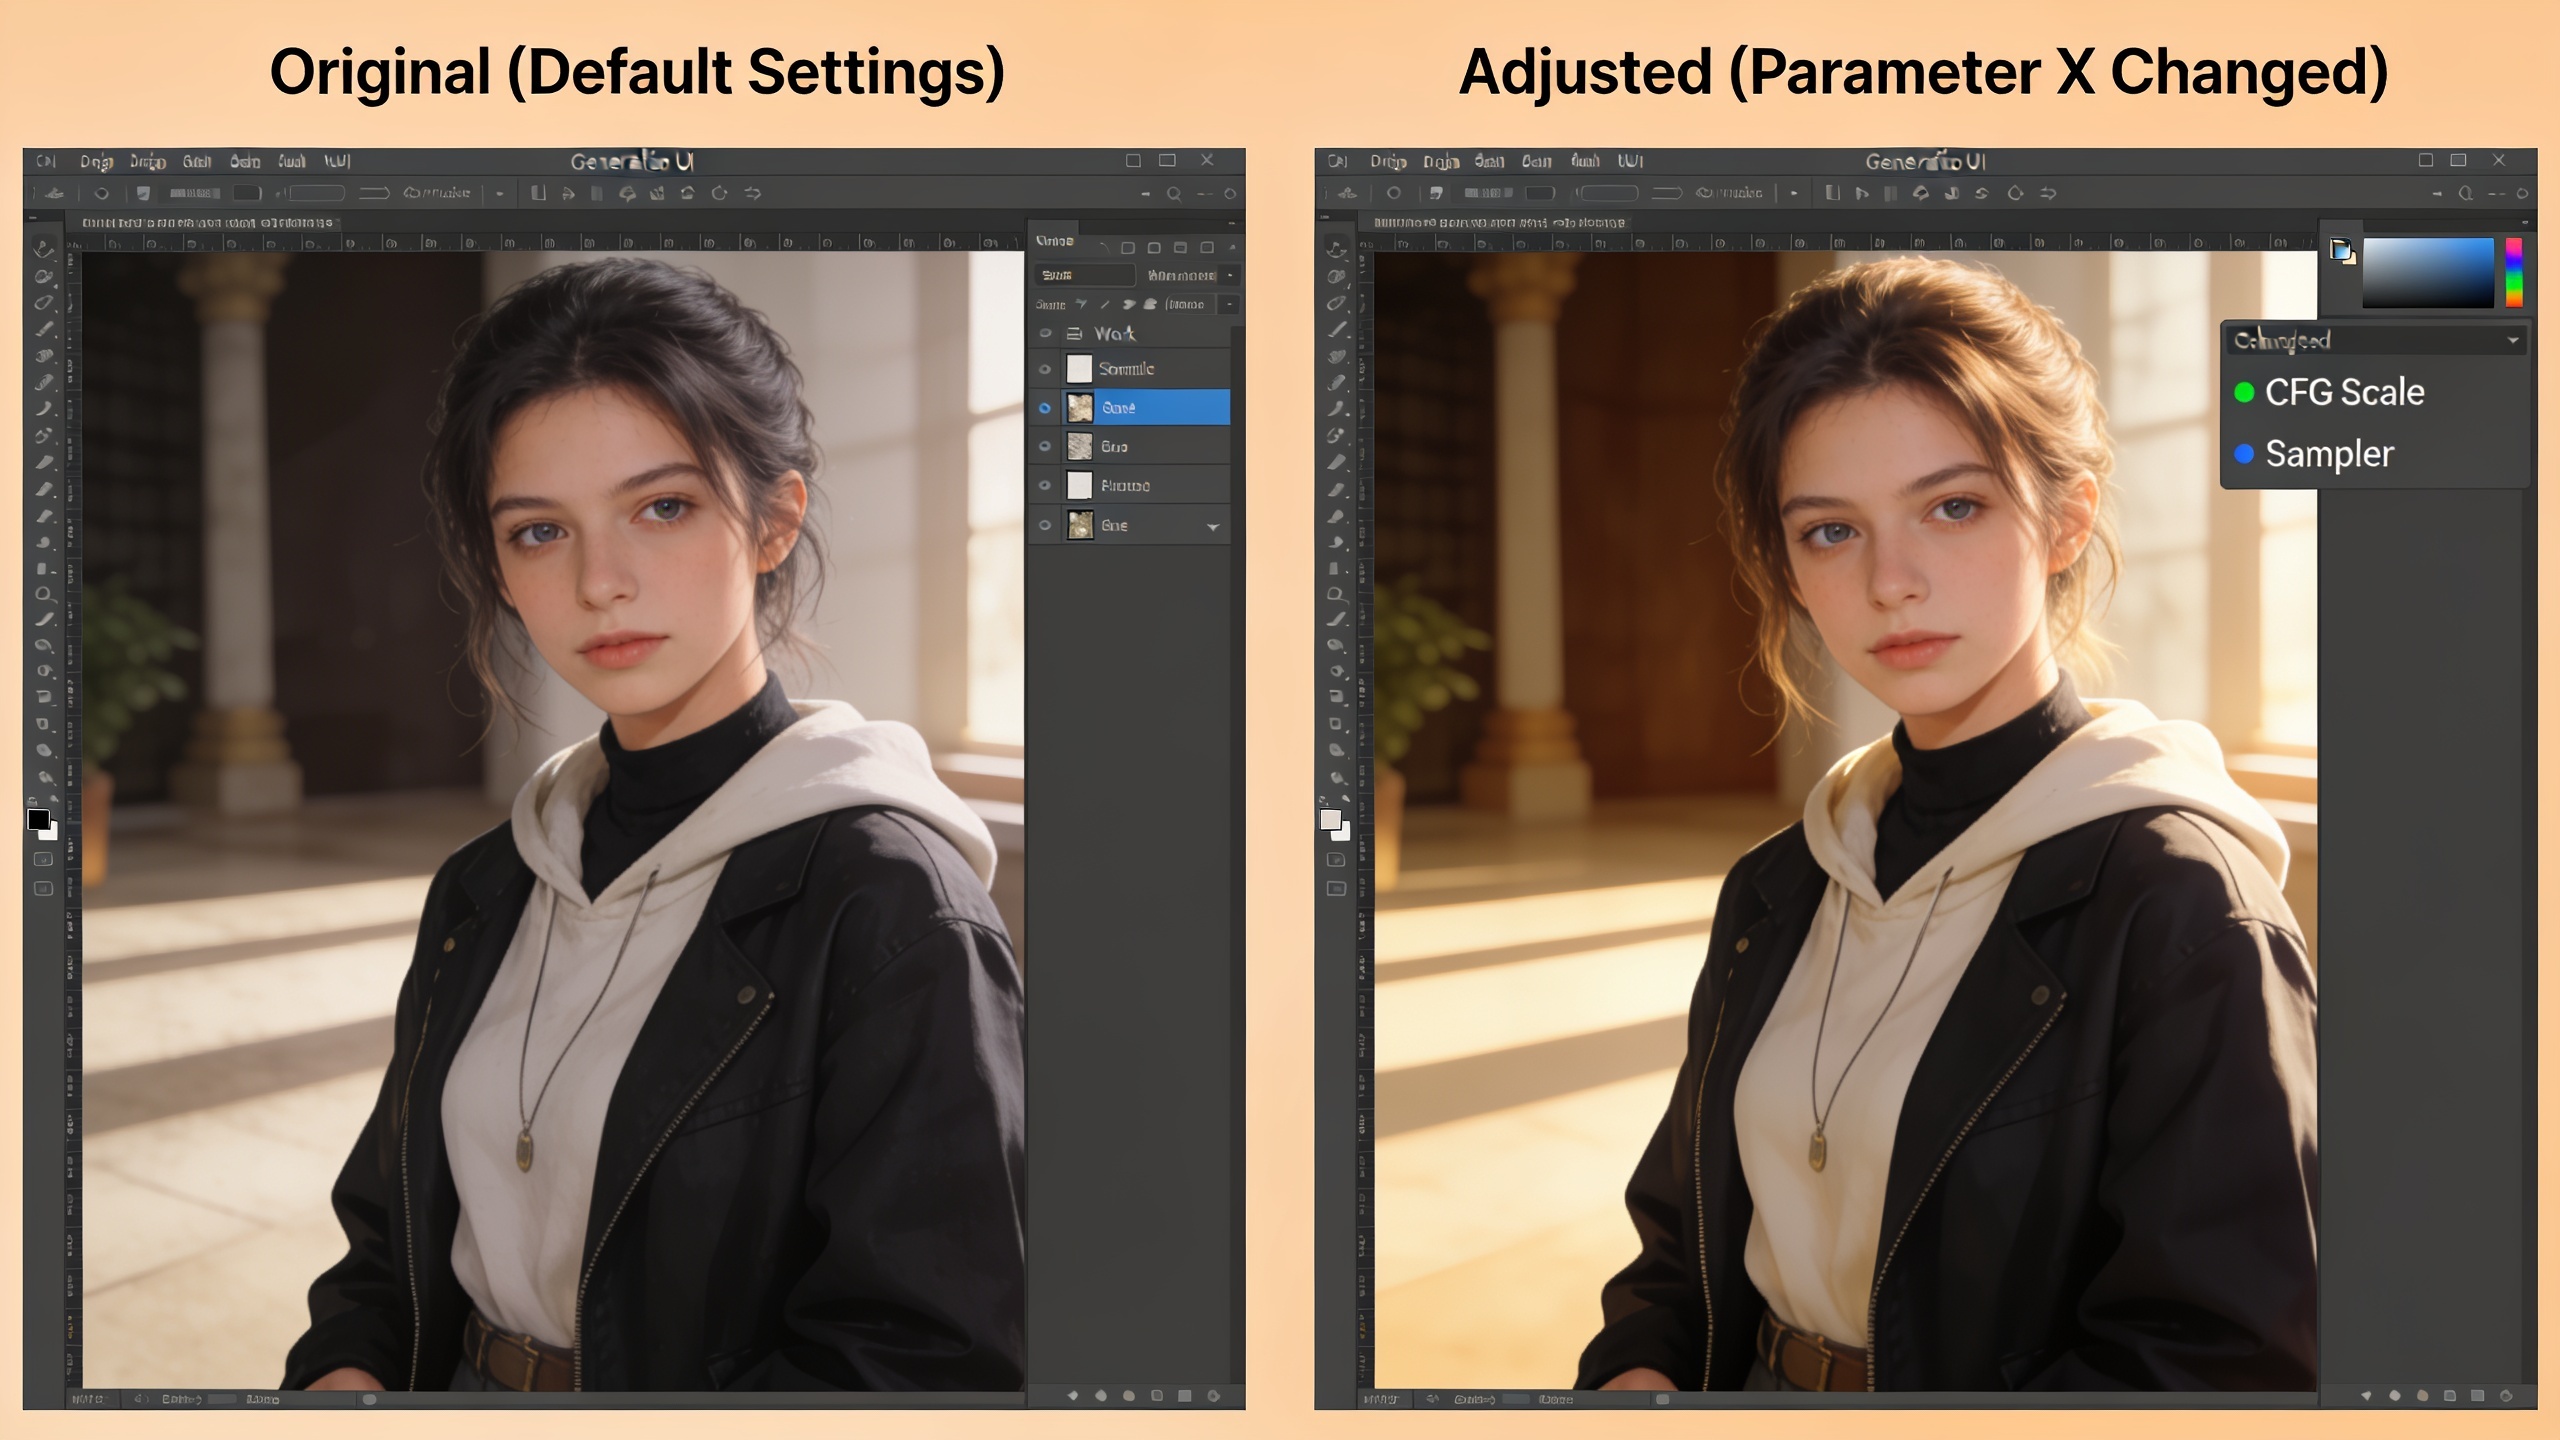
That slow, one-change-at-a-time habit isn't some AI-specific trick, either. People who study skill-building tend to find you improve faster when you focus on one small deliberate change instead of overhauling everything at once. It's the same principle apps like Xenith build around for personal goals, nudging you to set daily intentions and work through them in focused sessions rather than juggling ten things at once. Learning ComfyUI rewards that exact mindset.
Common Use Cases for ComfyUI
ComfyUI handles a lot more than basic text-to-image, which is a big reason it's been picked up across so many different jobs.
Text-to-image is still where most people start. Type a prompt, generate from a checkpoint, done. Style transfer builds on that by taking the look of one image (a painting style, a certain artist's vibe, a particular lighting mood) and applying it to fresh content, usually through ControlNet or IP-Adapter nodes.
Then there's inpainting, which is one of my favorites, honestly. You mask off part of an existing image and regenerate only that region. Remove an object, fix a weird artifact, swap a background, all while leaving everything else alone. ComfyUI's node structure makes it easy to bundle masking, region-specific prompts, and blending into one repeatable pipeline.
Upscaling workflows take a low-res generation and blow it up while adding detail, using models like ESRGAN or specialized latent upscalers. Super useful for print work, big displays, or anytime your first render just wasn't sharp enough. And newer custom nodes have pushed ComfyUI into video too, frame-by-frame generation, interpolation, video-to-video style transfer, which makes it more and more relevant for editors playing with AI-assisted post.
Last one worth mentioning: batch automation. Since a workflow is just a JSON file, teams can programmatically feed different prompts or images through the same pipeline and pump out large batches of consistent content. E-commerce catalogs, marketing assets, game art. That kind of thing.
Best Practices for Building Reliable Workflows
Reliable ComfyUI workflows come from keeping your graphs organized, testing changes bit by bit, and writing down your non-default settings so the thing still makes sense to you weeks or months later. As workflows get bigger, a few habits are what separate a maintainable pipeline from a tangled mess that breaks every time you touch it.
First, use node groups and consistent names. A 40-node workflow turns into visual soup fast if you haven't grouped or color-coded the loaders, conditioning, sampling, and output. Second, save versions as you make big changes instead of overwriting one file. When a tweak breaks everything (and it will), you'll want that rollback. Third, keep a dead-simple log of which checkpoint, LoRA, and sampler combo gave you your best results, because there's enough randomness baked into this stuff that it's stupidly easy to forget what actually worked.
It's also smart to know when to stop banging your head against a problem and ask someone who's already solved it. Same way a business hitting an unfamiliar operational wall might use something like Advisory Navigator to get matched with an advisor or mentor who's been there, ComfyUI users stuck on a stubborn error or a quality bottleneck or a performance issue usually do better tapping community forums, Discord servers, or experienced folks than reinventing the wheel solo.
And if these AI visuals are part of some bigger content push (a blog, product listings, social) it's worth thinking about where the image workflow fits in the whole production chain. A lot of creators pair AI image generation with automation on the text side. Some teams, for instance, lean on platforms like RobinRank to automate their SEO writing and publishing while ComfyUI handles the visuals, so you end up with a pretty complete end-to-end pipeline covering both words and pictures.
Troubleshooting Common Beginner Errors
| Problem | Likely Cause | Quick Fix |
|---|---|---|
| Blurry or muddy output | CFG scale too low or too few sampling steps | Increase steps to 20-30, adjust CFG to 6-8 |
| "Missing node" error on template load | Custom node package not installed | Install the required custom nodes via ComfyUI Manager |
| Out of memory error | Resolution or batch size too high for available VRAM | Lower resolution, reduce batch size, or use a lighter model |
| Inconsistent results between runs | Random seed not fixed | Set a fixed seed value to reproduce the same output |
| Workflow runs but produces black image | VAE mismatch with checkpoint | Use the VAE bundled with or recommended for that specific checkpoint |
Frequently Asked Questions
Is ComfyUI actually free? Yep. ComfyUI itself is free and open-source. The only money involved is hardware, like a capable GPU if you're generating locally, or cloud GPU rental fees if you'd rather not run it on your own machine. And the templates, including those 30+ JSON workflows over at ComfyUI Templates, are free to download and use too.
Do I need to know how to code? No coding needed for the basics, since the node system is entirely visual. You connect boxes, you don't write scripts. That said, having some sense of how data flows through a pipeline (basically flowchart logic) makes everything click faster, and advanced folks who want to build their own custom nodes do end up using Python.
Wait, what's the difference between ComfyUI and Stable Diffusion? Stable Diffusion is the actual AI model that generates the images. ComfyUI is one of several interfaces you can use to run that model (and others, like SDXL or Flux). Think of it this way: Stable Diffusion is the engine, and ComfyUI is one kind of dashboard and set of controls for driving it.
Can it do video, or just images? It can do video, through custom nodes and extensions. Generation, frame interpolation, video-to-video style transfer, it's all there. Just know it usually eats way more VRAM and time than a static image.
Why start with templates instead of building from scratch? Because templates let you see a complete, working workflow right away instead of burning hours figuring out which nodes to use and how to wire them. This is honestly how most people learn any visual or technical skill anyway. You study working examples first, tinker with them, and only build original stuff from a blank canvas once you actually know what you're doing.
Wrapping Up
ComfyUI earned its rep as the most flexible way to run AI image and video models for one reason: it turns an opaque process into a graph you can see and edit. That transparency cuts both ways for newcomers. It's the exact thing that makes ComfyUI powerful, and the exact thing that makes it look terrifying the first time you open it. Start with proven templates, run them, change one setting at a time, and you'll go from confused to competent faster than you'd expect. That's really the whole reason resources like the free JSON workflows at ComfyUI Templates exist in the first place. To give you a working foundation to learn from instead of a blank, merciless canvas.